So my first gifs are being made using ImageMagick and GIFbrewery.
Eventually I would like for the whole process to be in ImageMagick. GIFbrewery is meant to take movie files and make them gifs. It isn’t quite the right thing for tweaking 2 and 3 frame animations, but I had it already for another project and it is super easy to resize and crop all the frames of a GIF at once with it.
But lets start at the beginning with ImageMagick. Since I am on a fresh install on my computer right now (new SSD!!) I had to go from 0.
- Install Homebrew a command line package manager for lots of little system extensions that doesn’t disrupt the works of MacOSX.
- Install ImageMagick
To convert the Day 22 screengrabed frames of the old woman (Impa) into an animated gif took one line in the shell. (I had cd’ed to the folder with all the selected png files)
convert *.png silent_woman.gif
There is LOTS to learn about command line processing with ImageMagick. I think again, like the map making, for gifs where I don’t want special crops I may be able to handle the whole workflow with just ImageMagick.
Once I had the full-screen gif ready to go, I cropped the image down, resized it and fixed the timing in Gifbrewery.
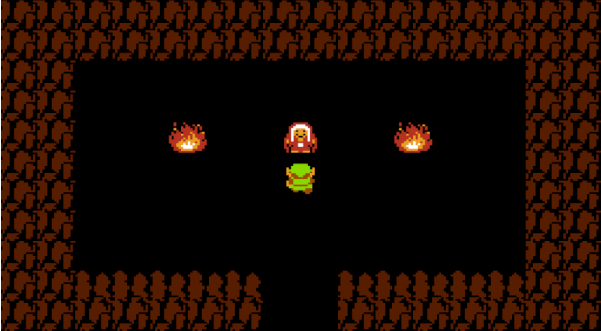
She says nothing.
